The Ultimate Routine: Step-by-Step Techniques for Major Muscle Groups

If you’ve ever felt stiff before a workout, you’re not alone. Research published in the International Journal of Sports Physical Therapy found that self-myofascial release (a technique where you apply sustained pressure to muscle tissue to reduce tightness) can significantly improve short-term flexibility and range of motion without reducing strength. In other words, done correctly, foam rolling isn’t just hype—it works.
Before diving in, remember the fundamentals: move slowly and with control, pause 20–30 seconds on tender spots, avoid rolling over joints or bones, and breathe deeply (yes, actually breathe—holding your breath defeats the purpose).
1. Lower Body Release
Because the lower body drives most athletic movement, start here.
-
Hamstrings
Sit with the roller under your thighs. Support yourself with your hands and roll from the base of your glutes to the back of your knees. Controlled passes improve tissue elasticity over time. -
Quads
Lie face down with the roller under your thighs. Using your forearms for support, roll from the top of your knee to the hip flexor. A 2015 study in the Journal of Athletic Training showed improved knee flexion range after quad rolling. -
Glutes/Piriformis
Sit on the roller, cross one ankle over the opposite knee, and tilt toward the crossed leg. This targets deep hip rotators—key players in posture and squat depth (your lower back will thank you). -
Calves
Place the roller under your calves and lift your hips slightly. Roll from Achilles to below the knee. Tight calves often limit ankle mobility, which can affect everything from running to jumping.
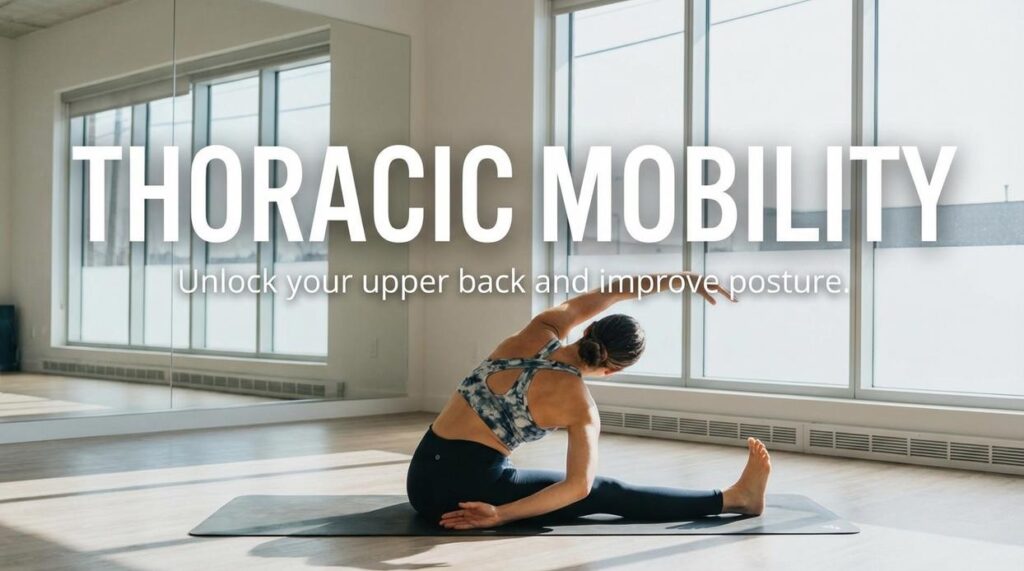
2. Upper Body Mobility
Next, shift upward to restore posture and shoulder function.
-
Thoracic Spine (Upper/Mid-Back)
Lie on your back with the roller under your shoulder blades. Support your head, lift your hips, and roll slowly—avoiding your neck and lower back. Studies show thoracic mobility supports healthier shoulder mechanics. -
Lats
Lie on your side with the roller in your armpit area and arm extended overhead. Roll gently down your torso. Since tight lats restrict overhead movement, this step enhances pressing and pulling performance.
Skeptics argue that stretching alone is enough. However, evidence suggests that use foam rolling for range of motion gains can complement dynamic warmups more effectively than static stretching alone.
For a broader framework, explore mobility training essentials for injury free performance.
Pro tip: consistency beats intensity. Five focused minutes daily outperforms one marathon session (no need to reenact a Rocky training montage).
Safety First: 4 Common Foam Rolling Mistakes to Avoid
Most guides tell you what to roll. Few explain how mistakes quietly sabotage progress (and sometimes cause injury).
Rolling Too Fast
Fascia—the connective tissue surrounding muscles—responds to slow, sustained pressure. Rushing is like fast‑forwarding through a stretch scene in a Rocky montage. Research shows slow, controlled rolling improves tissue extensibility and recovery (Cheatham et al., 2015). If you want real results from foam rolling for range of motion, slow down.
Rolling Directly on Joints or Bones
Pressure belongs on muscle, not knees, ankles, or especially the lumbar spine. Direct joint compression can irritate structures not designed for load.
Spending Too Long on One Spot
More isn’t better. Over 60 seconds of intense pressure may aggravate nerves or tissue. Pro tip: 20–30 seconds, then reassess.
Holding Your Breath
Breath drives relaxation. Exhale to signal your nervous system to release tension—not brace against it.
 Director of Fitness Programs
James Rossmarindez oversees the development and execution of ZayePro’s fitness and mobility initiatives. With extensive experience in personal training and functional movement coaching, he designs programs that balance strength, flexibility, and wellness. Ross emphasizes client-centered approaches that adapt to individual goals. He collaborates with the team to integrate innovative health strategies into daily routines. Passionate about education, he also leads workshops and virtual sessions.
Director of Fitness Programs
James Rossmarindez oversees the development and execution of ZayePro’s fitness and mobility initiatives. With extensive experience in personal training and functional movement coaching, he designs programs that balance strength, flexibility, and wellness. Ross emphasizes client-centered approaches that adapt to individual goals. He collaborates with the team to integrate innovative health strategies into daily routines. Passionate about education, he also leads workshops and virtual sessions.